_THE TORUS
The Torus
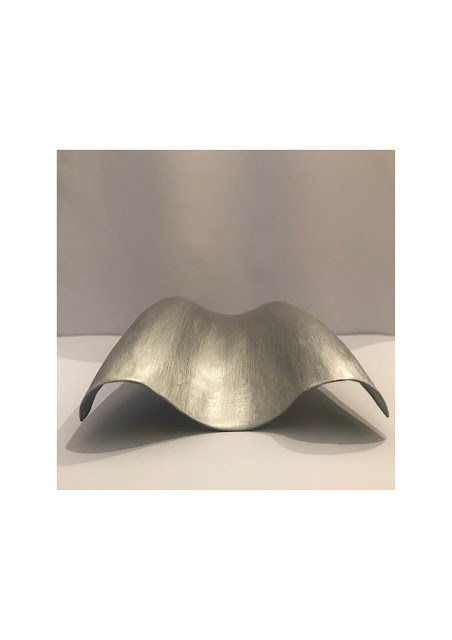
In the second tutorial we learnt the making process of transforming a 200mm x 100mm sheet of metal to form a reverse curve. A "Torus" is a shape defined by two circles both with a reversed radius and ring radius. Meaning that each curve moves in an opposite direction.
By cutting our sheet of metal to a 240mm x 120mm piece and dividing into three strips, we formed the guideline of our reverse curve form.
As the images illustrate below, the main tools used for this project included rubber mallet, planishing hammer, wooden stump with curve depression (used to shrink the centre of the metal sheet), steel dolly (used for the stretching the exterior strip), timber dowel (used to shrink the interior strip), multiple vices and sandpaper.
To assist in the project we used the following tools:
RullerEtching tool
Rubber Mallet
Planishing Hammer
Cylindrical Wooden Stump w/ concave void
Metal "horse" steel dolly
English Wheel
Timber Towel
Sandpaper
Metal Polish
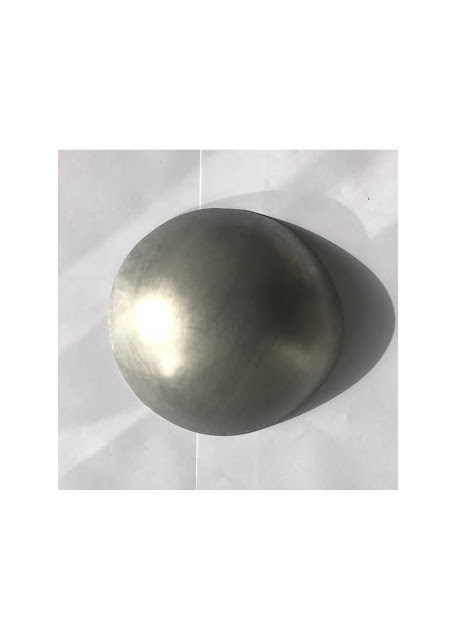
Finished product
Image Above: Completed Torus Front Perspective
Image Above: Completed Torus Second Side Perspective
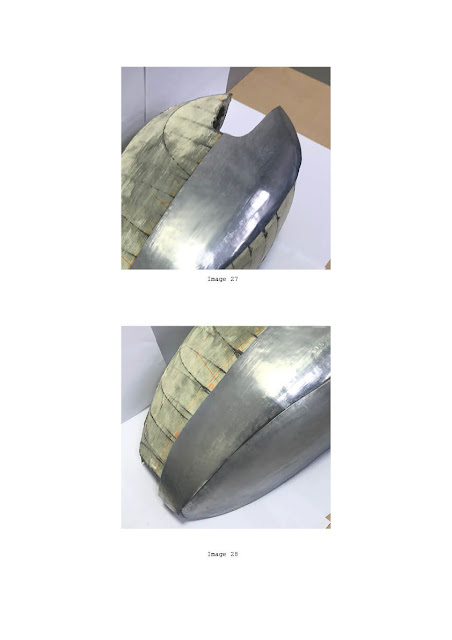
Image Above: Completed Torus Back Perspective
How to make your Torus
A step by step guide
By using the provided guides we were able to etch in section on our 240mm x 120 sheet of aluminium. Each section would provide the two different curvatures of the finished torus.
Next the sheet of metal was placed over the converted cylindrical wooden stump, to be used as a tool to initiate the curve. For this step it was important to have an extra pair of hands to help increase the effectiveness of this step and increase its curvature!
Then to create the mirroring curves along the outer sections we used the steel "horse" dolly. To ensure even stretching i started by hammering softly at one corner/end of the outer section, slowly moving the sheet of aluminium, working my way up the edge. Making sure i payed attention to the curvature of my aluminium as at this stage it easily bent and twisted due to the opposite curves and way in which metal moves when being manipulated this way.
As my central curve was too narrow to fit through the English Wheel, i needed to find an alternative solution in finishing my central section. In this case, i used a piece of timber dowel which fit the concave of the central section, as my custom dolly to achieve a higher curve and smoother finish.
Finally sandpaper was used to smooth out the entire surface followed by metal polish.
Conclusion
I found this task to be slighting more complex, as it was tricker to ensure an even and consistent result, as the metal intended to bend in different ways when pressure was applied to its reversing sides. The mistake of using a planishing hammer was also made, which resulted in big indents which were harder to remove by sanding.


Comments
Post a Comment